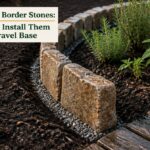
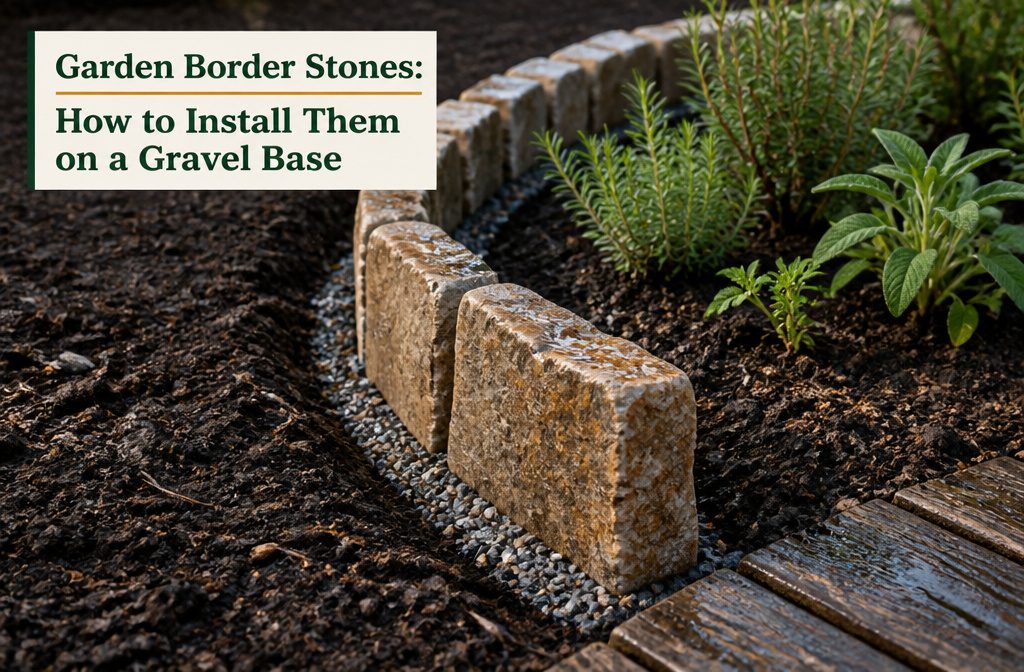
A concrete-and-natural-stone edging block, set upright in a shallow trench, marks where a bed, walkway or tree circle ends.
The gravel under it has to stay thin: a deep bed lifts the stones onto the soil like a store-bought curb. Bury about half of each stone, and keep that depth all the way around.
Plan the Space
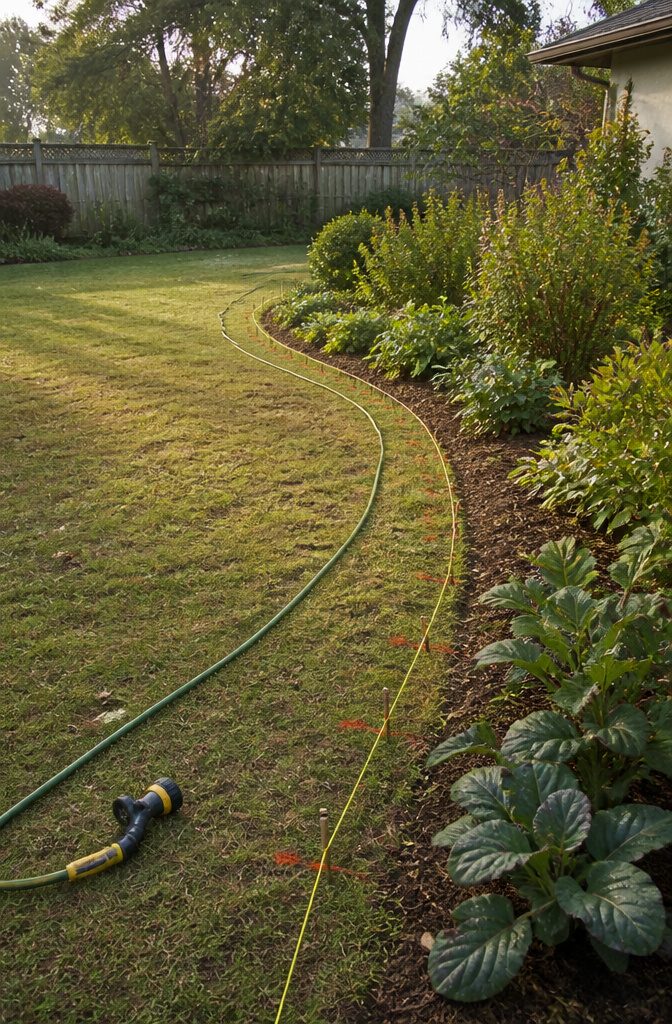
Decide where the stones go before you pick up a shovel.
Flower beds, walkways, tree circles and driveway edges each call for a different line. A bed edge can curve, a walkway looks best straight, and a tree circle is a simple ring.
Mark the line with string, a garden hose or spray paint, then measure it. Divide the length of the line by the length of one stone to get your count, and add a few extra for curves and awkward corners.
A marked line also keeps the trench straight, and a counted order saves a second trip to the store. With both done, a finished border usually takes less than a day.
Recommended Products

EASYFLEX DECORATIVE NO-DIG LANDSCAPE EDGING: Get a beautifully landscaped yard without all the work of a dig-in lawn edging; simple installation without trenches or shovels; color may vary due to the unique manufacturing process.

EASY INSTALLATION: Sections of edging simply slide together and can be tapped with a mallet, which eliminates digging
Gather Tools and Materials
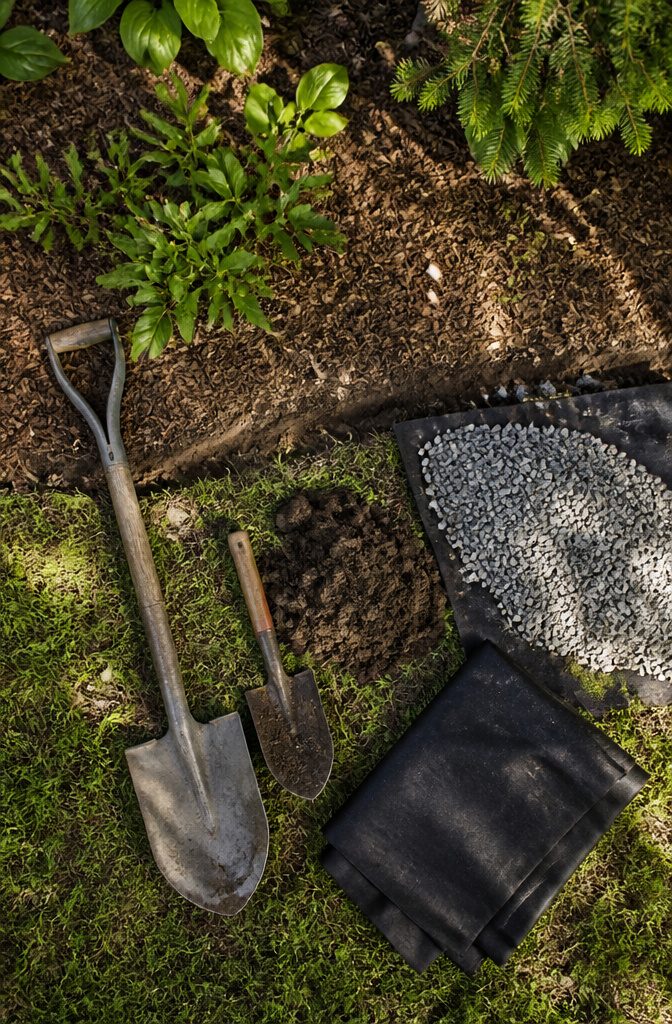
Most of this is already in your shed. Have these ready before you start digging:
- A large shovel for the main trench and a small shovel for detail work along curves and around each stone.
- Extra soil to pack the gaps between the stones and the trench walls, which keeps them from shifting.
- Gravel for the bottom of the trench. It gives the stones a drainage layer to rest on and holds them above ground, and a thin layer is enough.
- Landscaping fabric, which is optional. It stabilizes the soil under the stones, improves drainage, and blocks sunlight the way mulch does, so weeds can’t root between the stones.
Skip the fabric if your bed is already clean. Add it where weeds or lawn grass keep creeping in.
Recommended Products

Realistic Faux Stone Texture: Our landscape edging boasts a lifelike stone texture with detailed surface patterns that add depth and a polished look to your outdoor space. It beautifully enhances garden beds, lawns, pathways and flower beds, bringing a natural, decorative touch to any yard.

8-Pack Faux Stone Garden Edging: Includes 8 gray landscape edging panels designed to create a clean stone-look border for flower beds, lawns, mulch areas, walkways, patios, and paths

Easy installation – Install garden edging border quickly with our patent-pending connection system. Simply hammer spikes to secure for a stable it firmly in place. Ideal for landscape edging border projects.
Dig the Trenches
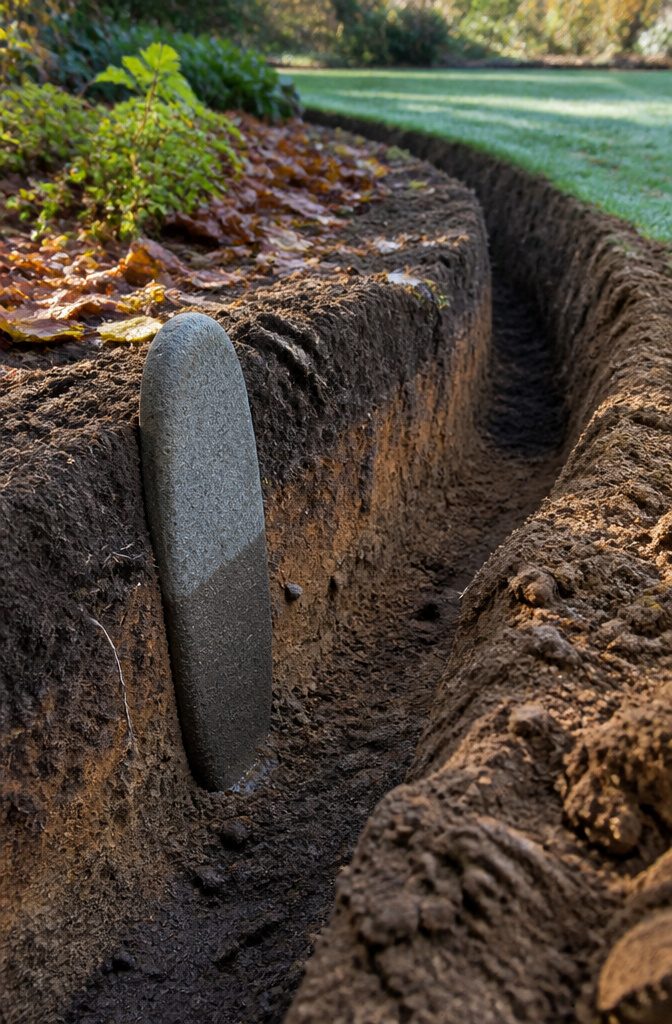
Set one stone in the trench as you dig and use it as your gauge. Dig only until the surrounding soil can hold the stone upright, because extra depth adds work without adding grip.
Nitterhouse Masonry Products gives a simple rule for how far that is:
The best rule of thumb is to dig so the bottom half of your edging stone is underground while the top half sticks up above ground.
Drop the gauge stone back in here and there to confirm you’re still at that halfway mark.
An uneven trench shows up later as a wavy top line, so keep the depth the same all the way around. That is what keeps the finished border level.
Recommended Products

Heavy Duty and High Strength Material: Features 8oz tough and durable density, PP non-woven, 350N tensile strength, our weed barrier fabric features erosion-proof, damp-proof, tear-proof, and durable material compared with other woven ground covers.
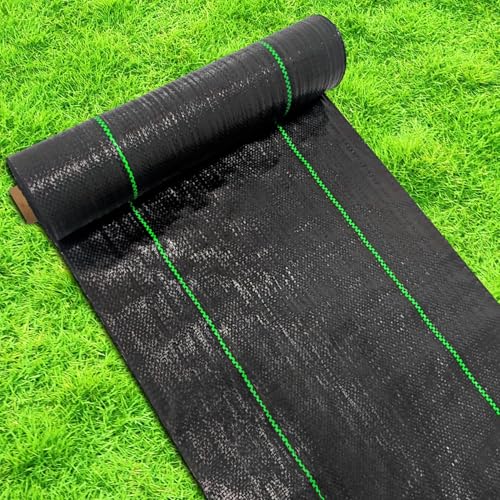
Weed Blocking Landscape Fabric:Groweco Heavy Duty Weed Barrier Fabric is made of 3.2 oz polypropylene.The use of weeding cloth can provide weed protection for you,make your workplace clean and hygienic,make your work more comfortable and improve your work effciency

Long-Lasting Use: Made of high-quality, weather-resistant plastic, this landscape edging is both sturdy and flexible enough to hold pebbles, mulch, and other materials in place
Lay the Gravel Base
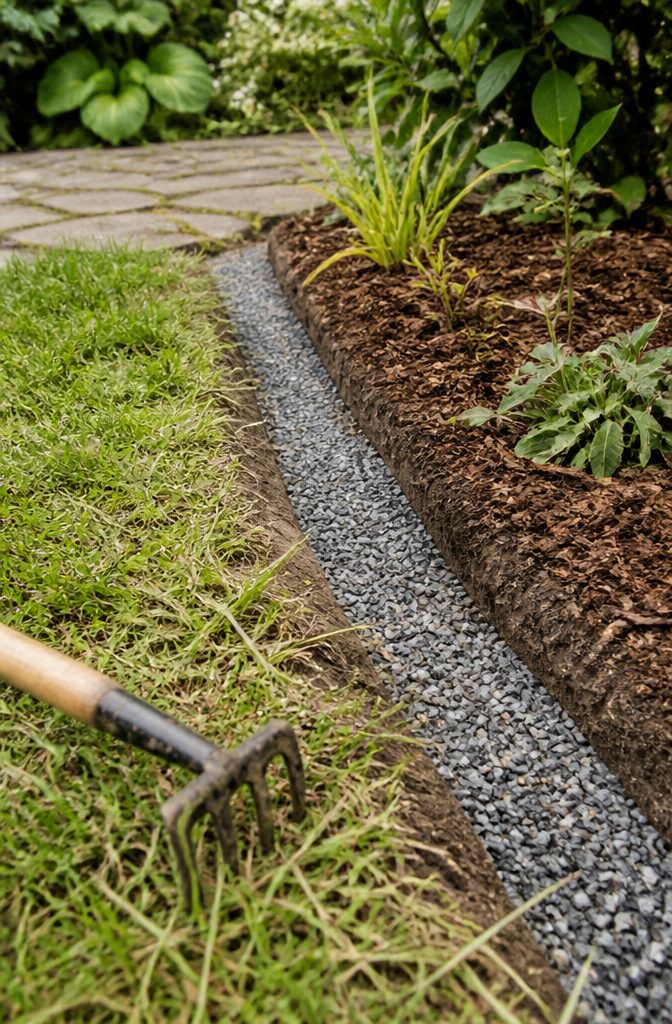
Pour the gravel into the bottom of the trench and stop while the layer is still thin.
The stones have to fit down inside the trench, and a deep bed pushes them up so they sit on top of the soil like a store-bought curb instead of settling into the bed.
Soil should stay visible around them, which keeps the border looking natural.
A thin layer is enough to drain the trench. Water runs through the gravel instead of pooling, so the stones don’t sit in wet soil that softens and shifts under them.
Rake the gravel level and tamp it flat with the back of a shovel before the first stone goes in. A thin, level layer gives you drainage without changing how the border sits in the yard.
Recommended Products
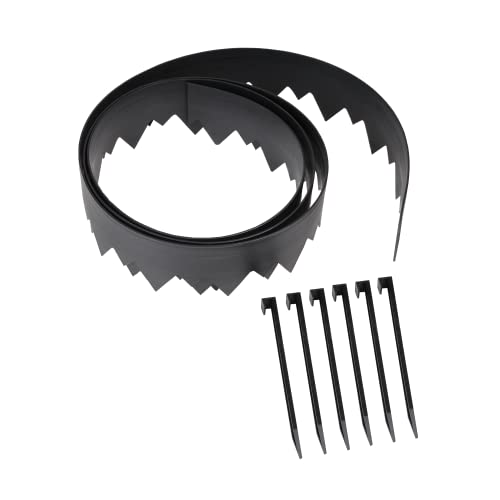
Pound‑In Lawn Edging – Create clean, defined garden borders without hiring a professional; installs with minimal ground preparation.

EASYFLEX DECORATIVE NO-DIG LANDSCAPE EDGING: Get a beautifully landscaped yard without all the work of a dig-in lawn edging; simple installation without trenches or shovels

RUBBER STEPPING STONES: Elevate your outdoor space with these lightweight simulated flagstone rubber pavers that offer the timeless beauty of real stone without the heavy lifting.
Place and Align the Stones
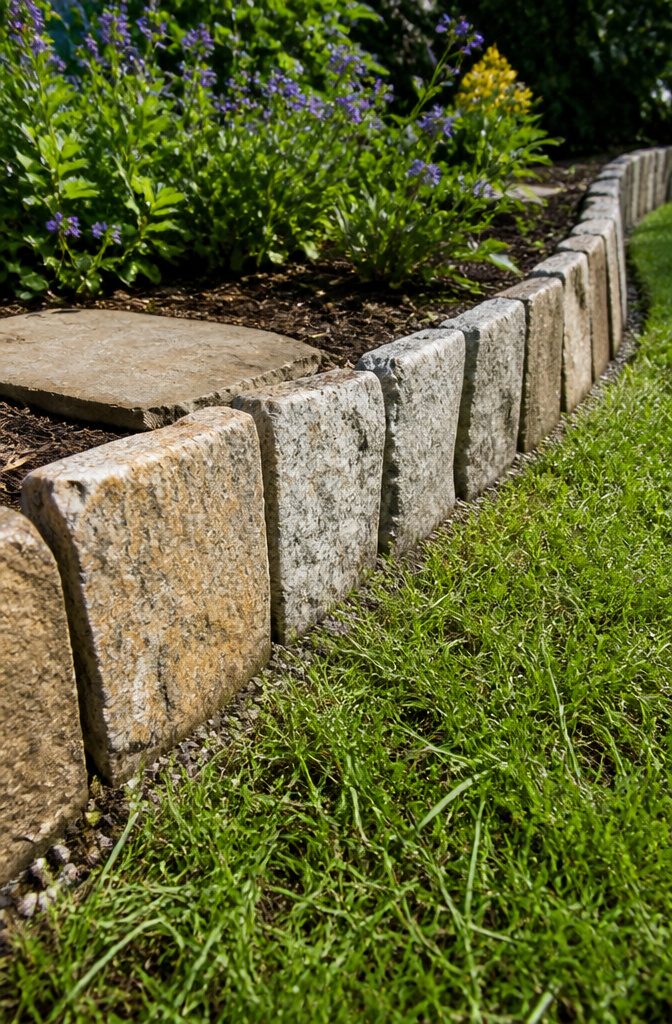
Set each stone upright, perpendicular to the ground, so it doesn’t lean toward the lawn or the bed.
Check the row by eye from the side and from the end. A stone that tilts when you place it will tilt further once the soil gets wet.
Fit the stones one at a time.
Natural stone is rarely uniform, so try a few against the gap before you commit, and turn each one until its face sits snug against its neighbor. Press it down into the gravel until it stops rocking.
Keep the joints tight wherever the border meets grass. Grass roots and runners slip into even a narrow crack and take hold between the stones, and pulling them out later usually means lifting the stone.
Recommended Products

Decorative Brick Red Finish for Rustic Charm: This short wood fence features a warm brick red finish that adds natural beauty and a decorative touch to any outdoor space. Ideal as a wood garden fence for flower beds, pathways, and yard accents.

Refined Carbonized Pine Wood: Crafted from premium pine, our wood landscape edging is carbonized for durability, sanded smooth, and coated for superior weather resistance. Unlike untreated wood, it won’t leave messy carbon residue on your hands.

【Product Dimensions】Size: 5.9" in height and 47" in length (comes in 2 packs). Each pack includes 4 U - shaped nails. This small garden fence is great for dividing areas or clearly marking borders.
Fill the Gaps
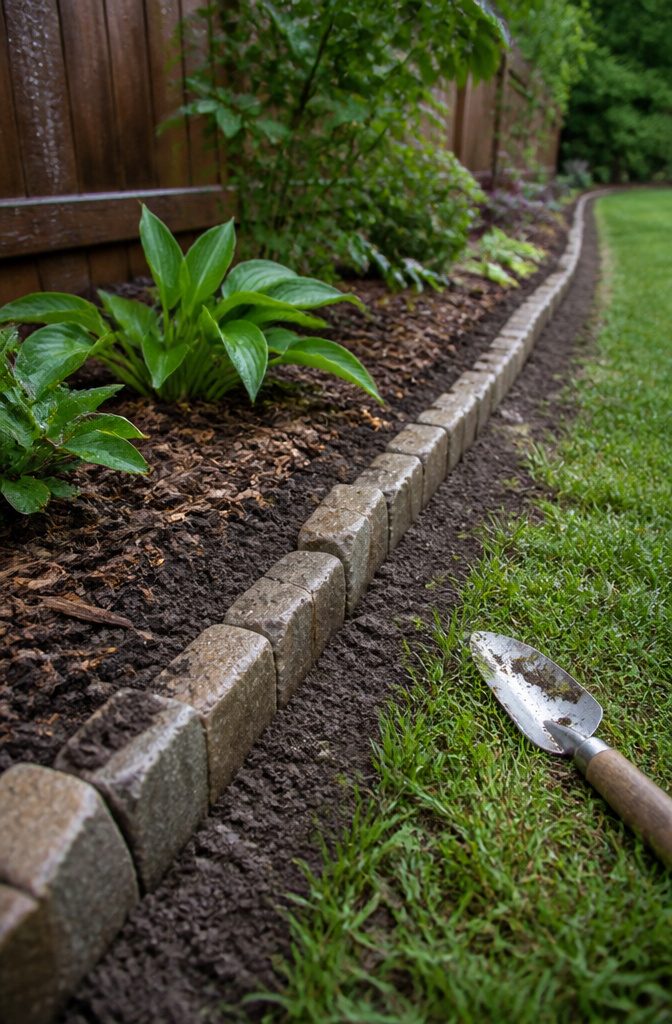
Once the stones sit where you want them, the gaps between each stone and the trench wall are the weak point.
Fill them with extra soil, working on both sides of the row, so nothing can shift when you step near it or when the ground freezes and thaws.
Add the soil in small handfuls rather than dumping it in. Press each layer down with your fingers or the handle end of a trowel, then add the next.
Firm the soil until a stone won’t rock when you push on it. Loose fill leaves air pockets, and the stones will drift out of line.
Sight along the row once more as you go.
This fill is what locks in the alignment you set in the previous step. After the first heavy rain, check for spots where the soil has settled and top them off.
Recommended Products

Stone-Look Decorative Landscape Edging: 2.75 inch tall rustic stone design complements any flower gardens and provide clean look for your gardens, flower beds, lawns, grass, raised garden beds, shrubbery, pathways, yard trees, ground pool, etc.

✅ 100% QUALITY🌲 This is set of 2 pcs Plastic ABS 2mm of Decorative betonex Straight edge stone mold for concrete reusable - Easy to use to create wonderful arden edge stone. Log Stone edging molds can produce more than 50 tiles for arranging garden Border.

STAYS IN PLACE - Our edging stays securely in place, keeping mulch and other materials from migrating into other areas of your landscape for a pollished look
Set the Depth Consistently
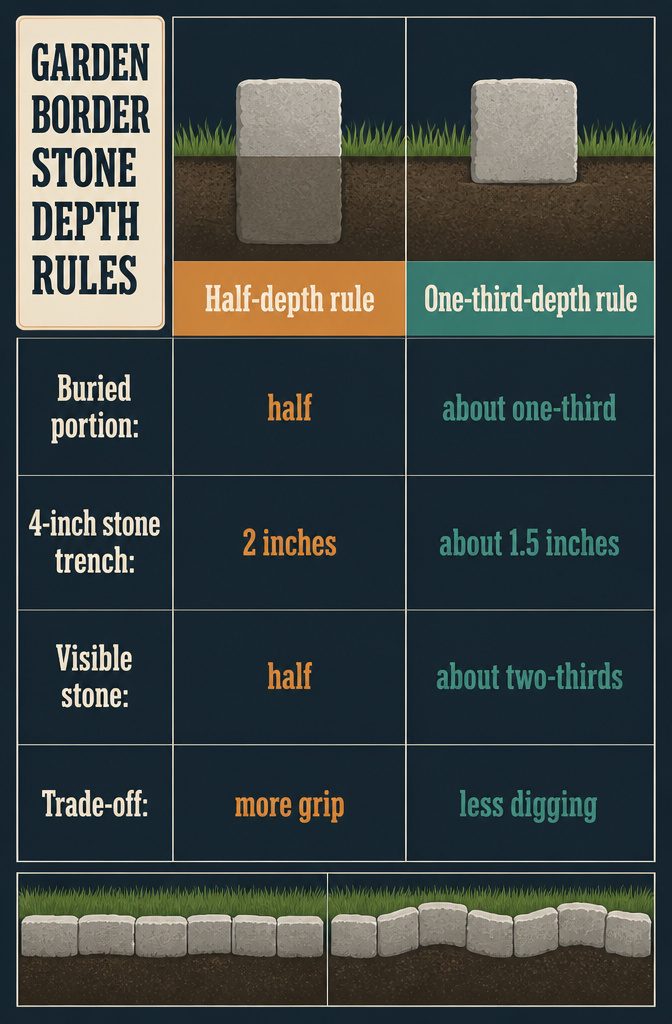
Two depth rules circulate for border stones, and they don’t match.
One buries the bottom half of the stone so the top half shows. The other sets about one-third below grade, so a standard 4-inch-tall stone goes into a trench about 1.5 inches deep and sits flush with the lawn.
Half-depth gives the stone more grip underground. One-third shows more stone and takes less digging.
Set a single stone in the trench before you dig the rest and see which look you prefer. Then pick one rule and hold it for the whole border.
Drop a stone in every few feet as you dig so the trench stays the same depth all the way around. Mixed depths show up as a wavy top line.
Recommended Products

Easy installation – Install garden edging border quickly with our patent-pending connection system. Simply hammer spikes to secure for a stable it firmly in place. Ideal for landscape edging border projects.
Realistic Faux Stone Texture: Our landscape edging boasts a lifelike stone texture with detailed surface patterns that add depth and a polished look to your outdoor space. It beautifully enhances garden beds, lawns, pathways and flower beds, bringing a natural, decorative touch to any yard.

Easy installation – Install garden edging border quickly with our patent-pending connection system. Simply hammer spikes to secure for a stable it firmly in place. Ideal for landscape edging border projects.
Uses and Landscape Benefits
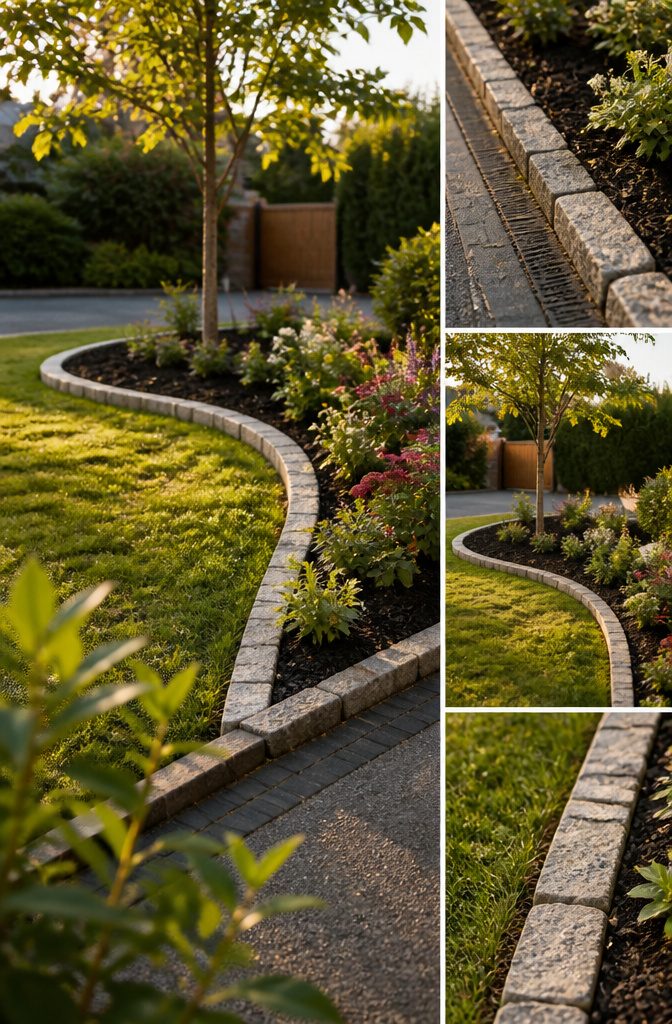
Border stones mark where one part of the yard ends and the next begins. Common places to use them:
- Flower beds: a stone ring outlines the bed and keeps soil and mulch from spilling onto the lawn.
- Vegetable and flower gardens: a solid edge that stays put year after year.
- Driveways: stones that match the pavement look formal, while a contrasting stone makes the edge stand out.
- Lawn edges, walkways and tree circles: a stone line keeps grass out of beds and lines a path, and a ring finishes the base of a tree.
They also do three jobs:
- Weeds: the stones block seeds that blow or wash in, and mulch held in place shades out the ones that sprout.
- Erosion: heavy rain has a harder time moving soil, and the stones redirect water flow.
- Foot traffic: a hard line shows people where to walk.
Recommended Products
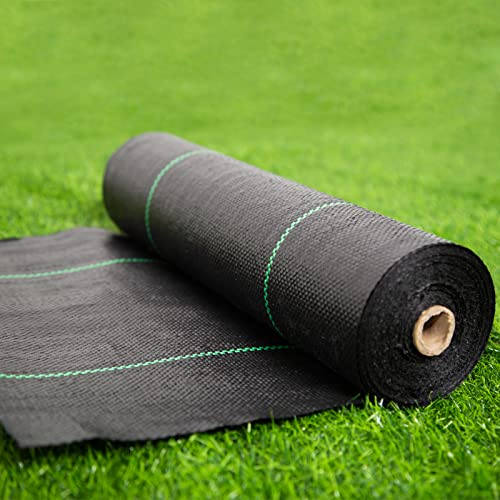
【Premium Weed Barrier Fabric】 Made of thick polypropylene woven fabric, this heavy duty weed barrier fabric is durable and helps keep your garden and flower beds free of weeds for long-term use.

Heavy Duty Weed Barrier Fabric: Crafted from 5OZ high-density, tear and corrosion resistant polypropylene, VEVOR 3 x 250FT woven weed barrier landscape fabric is the preferred choice for agriculture and industry. It ensures superior weed prevention and promotes soil health, keeping your landscaping remain weed-free for an extended period.

15-Pack Set: each garden edging border panel measures about 17.72 x 6.89 inches, 15 pieces totaling about 21.2 feet, more panels per pack help finish large yard projects with fewer orders and lower cost per foot
Material and Durability
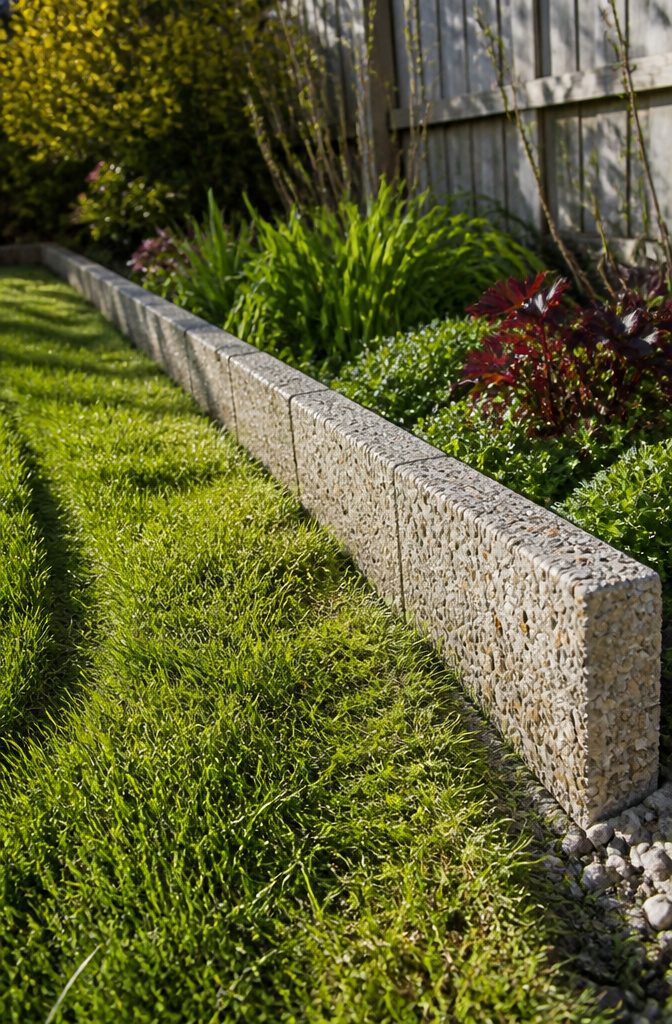
These edging stones are concrete made with natural stone, which gives them the weight and density that thin plastic or metal strips lack.
That weight is why they last. Frost heave pushes light edging out of line as the ground freezes and thaws, while a solid stone sitting on a compacted gravel base stays put.
Sunlight breaks down plastic over the years until it turns brittle and cracks, and concrete is unaffected by UV.
Mowers and string trimmers also bend metal and chew up plastic, but concrete takes a bump from a wheel without damage. For an edge you want to install once, concrete is the better buy over plastic or metal.
Recommended Products

Elegant Rounded Edges - Smooth curved plank ends prevent tripping hazards while enhancing visual appeal.

Generously Size:Measuring 8FT in length and 17 inches in width,these garden walkway provides a full 8' of length to let you cover more ground in an instant,brings sufficient area for you to walk through!This is the most convenient and cost-effective tool to create the elegant and exotic hardwood deck that you have always dreamed of!Design a multifunctional pathway,or charming landscape decor with our roll-out wood garden walk-way,add instant and rustic touch to your outdoor surroundings

𝐅𝐥𝐞𝐱𝐢𝐛𝐥𝐞 & 𝐄𝐚𝐬𝐲 𝐭𝐨 𝐈𝐧𝐬𝐭𝐚𝐥𝐥: Each panel measures 40" (L) × 5" (H), including 3" underground stakes for strong anchoring, leaving 2" visible above ground for a clean, low-profile border. The hammer-in design makes installation fast and effortless—perfect for creating neat, professional-looking edges without digging.
Frequently Asked Questions
Recommended Products

REALISTIC STONE LOOK:Designed with a natural stone texture, this decorative landscape edging enhances flower beds, pathways and lawn borders while adding a premium look to...
How deep should garden border stones be set?
Bury the bottom half of each stone so the top half stays above ground. Some installers set only about one-third below grade, which for a 4-inch-tall stone means a trench about 1.5 inches deep with the stone flush to the lawn.
Half-depth grips better underground, while one-third shows more stone and takes less digging. Whichever rule you choose, use it along the whole border so the top line stays level.
How do I maintain garden border stones?
Rinse them now and then with a low-pressure hose to wash off dirt and moss.
Keep your drainage moving rain and moisture away from the stones. After the first heavy rain, look for soil that has settled beside the stones and top it off.
What materials do I need to install garden border stones?
Besides the stones, you need gravel for the bottom of the trench and extra soil to pack the gaps along the sides.
Landscaping fabric is optional: it stabilizes the soil, improves drainage and keeps weeds from rooting between the stones. Skip it if the bed is already clean, and add it where weeds or lawn grass keep creeping in.