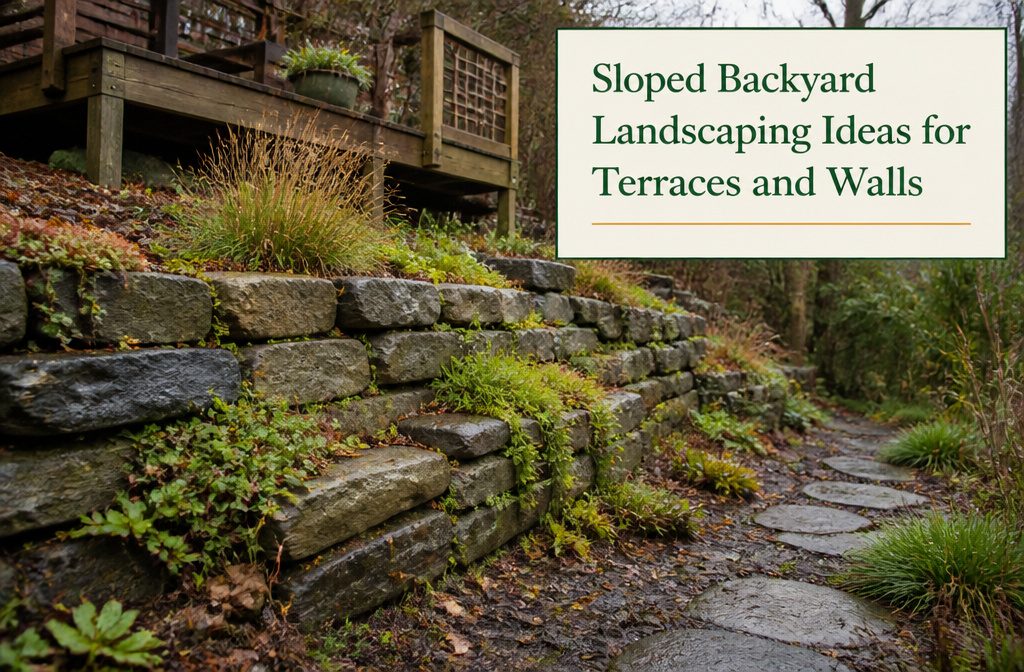
Projects range from planting sedum and switchgrass to building multi-level decks, and your slope’s steepness, measured as rise over run, decides where you land.
The limit is 3 feet: a retaining wall taller than that needs a professional, as do steep grades and drainage near a foundation.
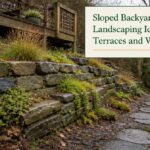
1. Terraces and Tiered Beds
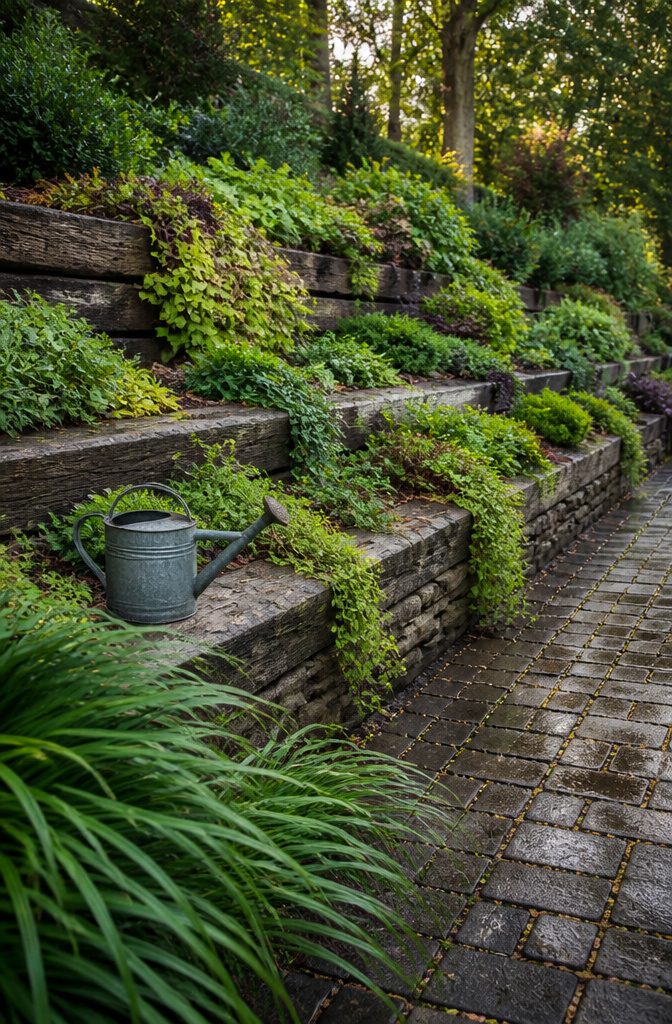
Cutting into the slope and filling the void with the soil you dug out gives you a level shelf. Each tier also slows water, so less runoff reaches your driveway or walkway.
While steps or terraces reduce water flow and stop runoff, hardy shrubs and groundcovers lock soil in place.
So plant every tier: edge the beds in pavers, bricks, or stones, and fill them with cascading plants and vines.
On a tight budget, divide the slope into smaller sections and build them from salvaged timbers or concrete blocks.
Check salvage yards and classifieds for materials. Terraces are real work, with digging, leveling, and moving soil by hand, so build one tier at a time.
Recommended Products

HEAVY DUTY 8 OZ GEOTEXTILE FABRIC: Heavy duty non woven polypropylene drainage and filter fabric for French drains, retaining walls, road stabilization, erosion control, landscaping, rip rap, geocell, and construction projects.
HEAVY DUTY 8 OZ GEOTEXTILE FABRIC: Heavy duty non woven polypropylene drainage and filter fabric for French drains, retaining walls, road stabilization, erosion control, landscaping, rip rap, geocell, and construction projects.

Durable HDPE Material: The ground grid is made of environmentally friendly HDPE material. Lightweight, wear-resistant, chemically stable, anti-photooxidation, acid and alkali resistant, suitable for different soils and soil conditions such as deserts.
2. Retaining Walls Under 3 Feet
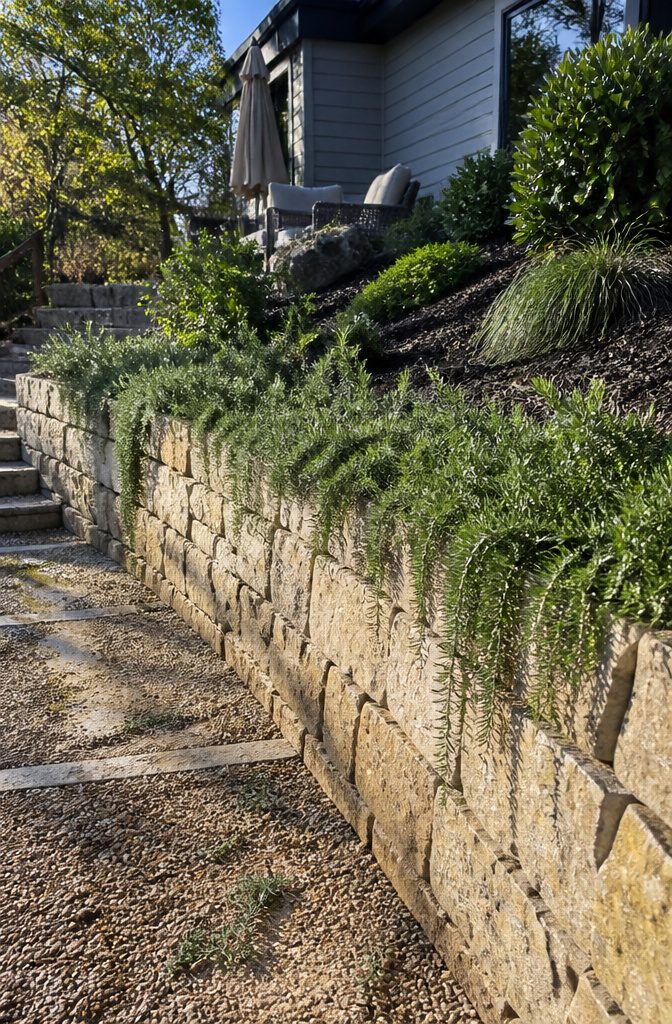
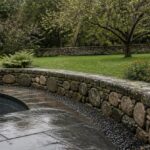
A retaining wall holds soil back so a slope can step down in level sections, and each flat shelf gives you room for a bed, a bench, or a path. For a do-it-yourself project, keep the wall under 3 feet tall.
Stone, wood, and concrete all work, and each sits at a different price point, so price all three before you pick one and match the material to your house and your budget.
Plant trailing rosemary (Rosmarinus ‘Prostratus’) along the top and let it hang over the face of the wall. It softens the hard edge and gives the wall a planted look from the first season.
Anything taller than 3 feet is a job for a professional. Don’t try it as a weekend project.
Recommended Products

【Raised Garden Beds Outdoor】: GRASQUILINE's round galvanized raised garden bed features enhanced rust and corrosion resistance, ensuring years of durable use even in harsh outdoor environments and humid climates — so you never have to worry about premature wear.

Discover the ergonomic elegance of our oval design—engineered for stress-free gardening and visual appeal. Raised flower bed features a heavy-duty construction using secure clamps and bolts, making it the best choice raised garden bed for hassle-free assembling and long-term garden fun, even for beginners or seniors.

Practicality: Measuring 4 x 2 x 1 ft, this planter lets you grow your favorite plants and flowers, overflowing with happiness.
3. Groundcovers and Slope Plants
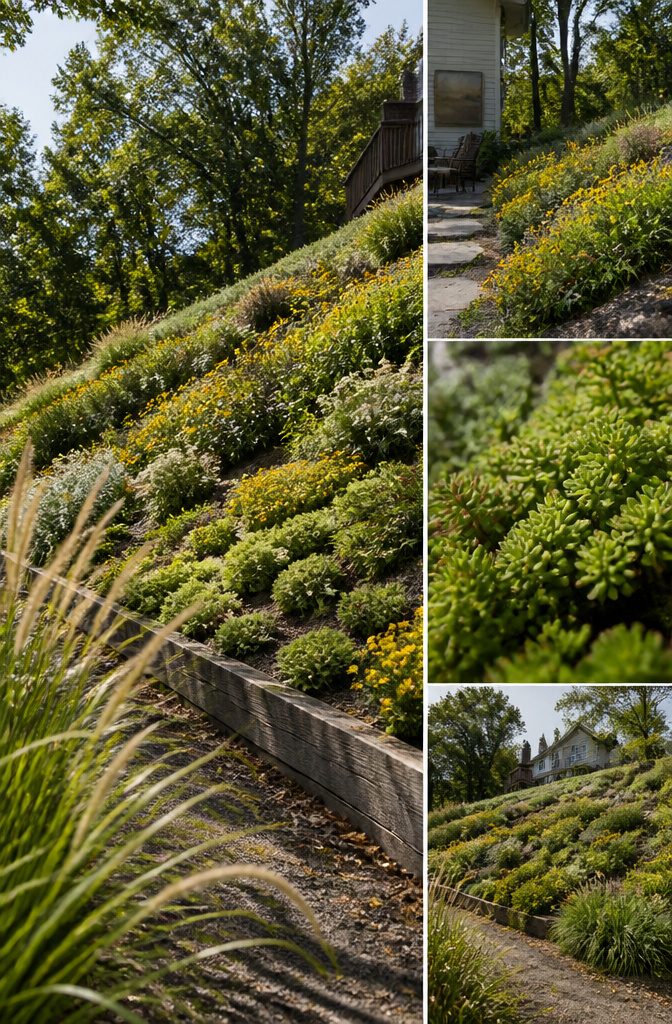
These plants hold soil and need little upkeep:
- Groundcovers: creeping juniper, sedum, and native grasses spread into a carpet that slows runoff and crowds out weeds. Vinca minor works too, but check your state’s invasive list first.
- Perennials: black-eyed Susan, yarrow, daylilies, and switchgrass thrive on slopes with little care and draw pollinators.
- Shrubs: spirea, dwarf sumac, and hydrangeas give the slope structure. Plant them in staggered rows to break up water flow.
- Marigolds: easy gold color between the sturdier plants.
Favor natives adapted to hillsides, and choose deep-rooted plants over shallow ones.
For a beginner on a small budget, start with sedum and a native grass such as switchgrass. Both are tough, tolerate dry spells, and need almost no attention.
Recommended Products

LIVE SEDUM TILE: 10" by 20" live plant mat featuring a combination of sedum succulent plants with earthy colors and contrasting shapes. These easy ground cover plants offer endless DIY possibilities.

Hardy in USDA zones 4-9. Due to varying agricultural regulations, we do not ship to the following states: AK, AZ, CA, CO, ID, MT, NV, OR, UT, WA and HI.
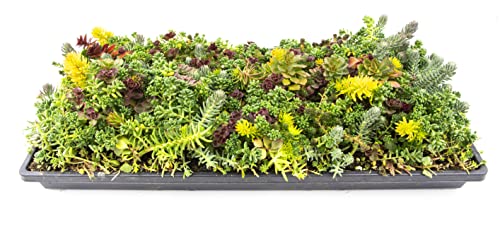
Use these decorative plants as outside plants for landscaping, patio plants, a sedum tile plant border, fairy garden decor, or in a succulent garden. Sedum plants like these and other real succulents live happily together.
4. Rock Gardens
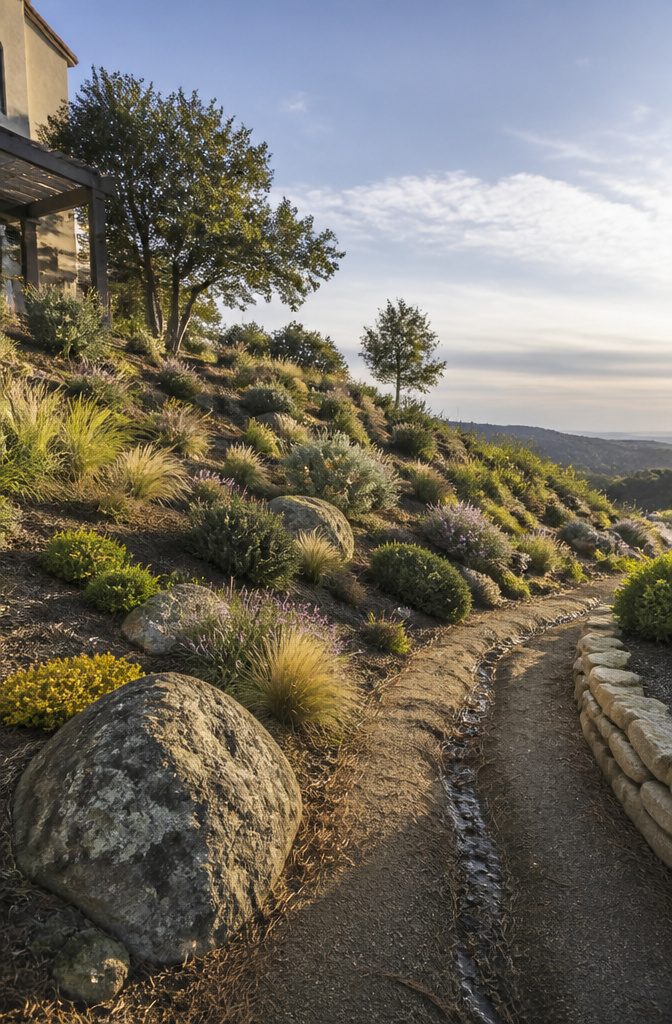
Boulders and rocks scattered across a hillside in an irregular, natural pattern give plants something to grip.
Ornamental grasses, flowers and shrubs settle in more securely among them, and the stone breaks up runoff so water slows on its way down the grade.
Rocks work best as one layer of a system: pair them with groundcovers and hardy shrubs, whose roots lock the soil in place, and fill the gaps with mulch.
This look suits dry climates, where turf struggles anyway.
Set the stones before you plant, because moving heavy rock on a slope is slow work with poor footing, and a loose boulder can roll. Hire help or rent equipment for the largest pieces.
Recommended Products

For Best results, plant in usda zone: 3-8 - mature size: 6-12ft H x 8-10ft w

FAST GROWN GROUND COVER — See Growth Rates of 2-4 Feet per Year

Key Feature: Procumbens Nana Juniper features dense, blue-green needle-like foliage with a low, spreading habit that forms a soft, evergreen groundcover.
5. Water Features
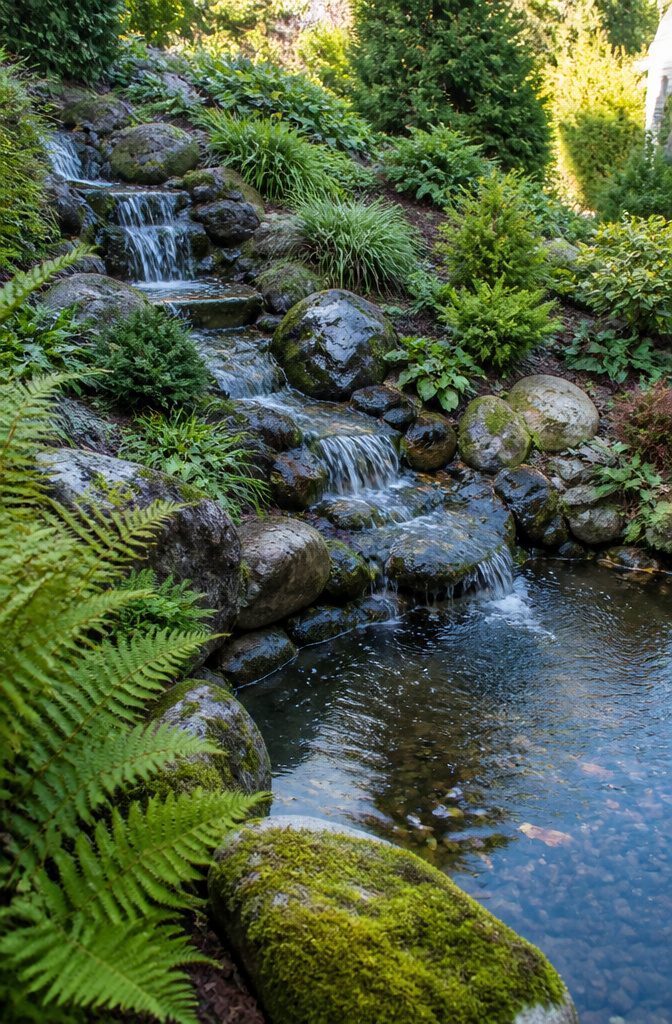
A slope does the hard part of a waterfall for you. Water follows the grade without a pump fighting it, so a cascade that would look staged on flat ground reads as natural on a hillside.
Start the flow at the highest point and let it step down over rocks to a small pond or basin at the bottom. You get the sight and sound of moving water.
Plan where that water goes before you set a single stone. Decide the path of the flow and where it collects at the bottom, or runoff will cut through nearby beds or sit in a puddle at the base.
Ring the edges with low green plants, and expect birds and frogs to find it.
Recommended Products

Overall dimensions- 11” x 11.5" x 8.5" (height x length x width) showing variations in both height and overall footprint. Keep in mind rocks have an irregular shape and are tapered.

HIDE UNSIGHTLY AREAS IN YOUR YARD: There are some things that nature-made rocks can't do, like provide cover. That's not the case with Outdoor Essentials Landscape Rocks. They're perfect hiding spots for eye sore areas in your yard such as well heads, electrical boxes, drain tiles and more!

【Weight & Size】Weight: 20 pounds, Size:3-4 inches. The rock is natural not man made. So the stones are heavy and 20 lbs is not a lot, please refer to the picture for the amount of area to be covered
6. Steps and Paths
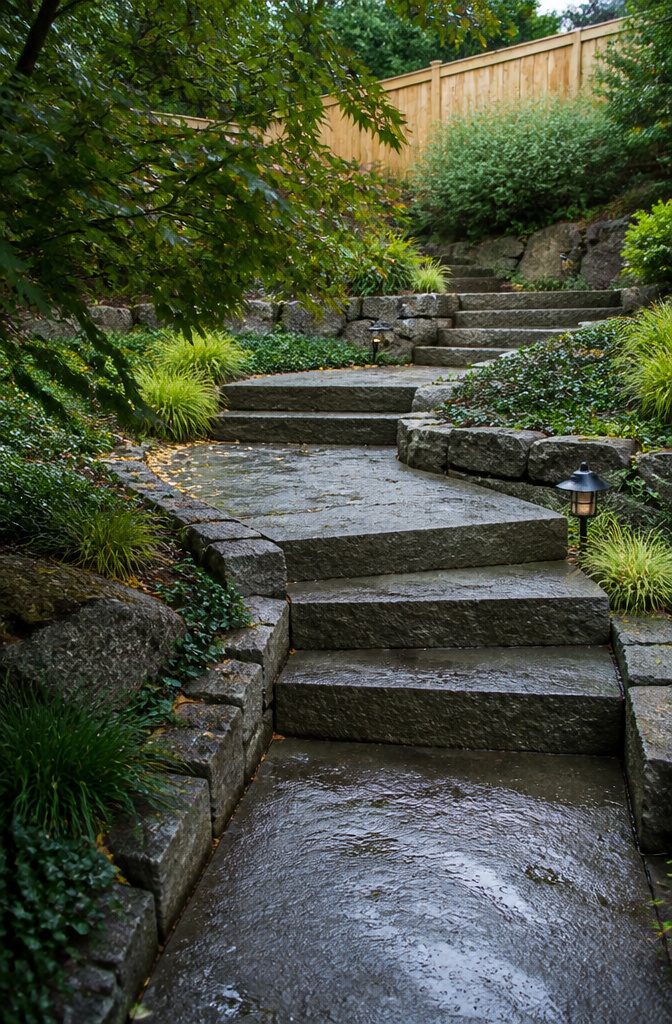
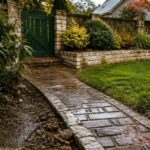
Steps and paths link the level areas of a sloped yard and give you a dry, predictable place to put your feet.
Poorly planned ones create falling risks, especially for children and pets, who move fast and rarely watch their footing.
A path that runs straight down the slope becomes a chute in wet weather, and steps with uneven heights or no place to pause invite trips.
The safest layout is a path that angles across the slope in gentle switchbacks, with steps only where the grade demands them.
Keep every riser in a flight the same height, and add a flat landing at each turn so nobody builds up speed. Pick a textured surface over smooth stone that turns slick when wet.
Recommended Products
HEAVY DUTY 8 OZ GEOTEXTILE FABRIC: Heavy duty non woven polypropylene drainage and filter fabric for French drains, retaining walls, road stabilization, erosion control, landscaping, rip rap, geocell, and construction projects.

【Skillful Quality Material】: Skillful quality polyurethane (PU), free from harmful substances like formaldehyde and VOCs
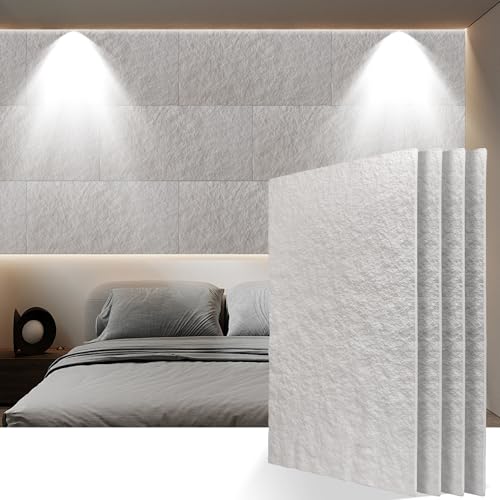
Premium PU Material: KASARO 3D Faux Stone Panels are made from high-quality PU, ensuring durability while being lightweight and easy to handle, perfect for various indoor art decor applications in your home or studio
7. Decks and Patios
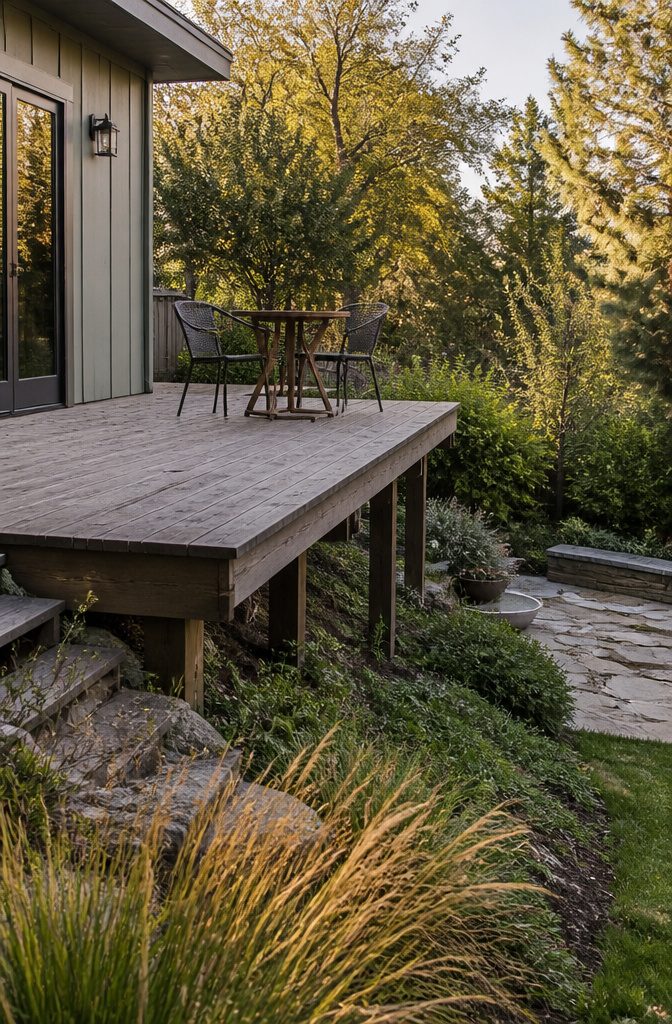
Where the ground drops away, a deck can stretch out over the slope, or a patio can be cut into a terrace. Either one gives you flat ground for furniture, and either looks good from above and below.
Start low and modest.
Grading, access for materials, labor, and permits drive the cost, and every one of them grows with the size and height of the structure. A patio set into a terrace skips the raised frame, but it still needs grading.
Multi-level decks that step down the slope can create separate zones for dining and lounging. They are also a bigger job, and one that may need a professional.
8. Overlook and Tiered Seating
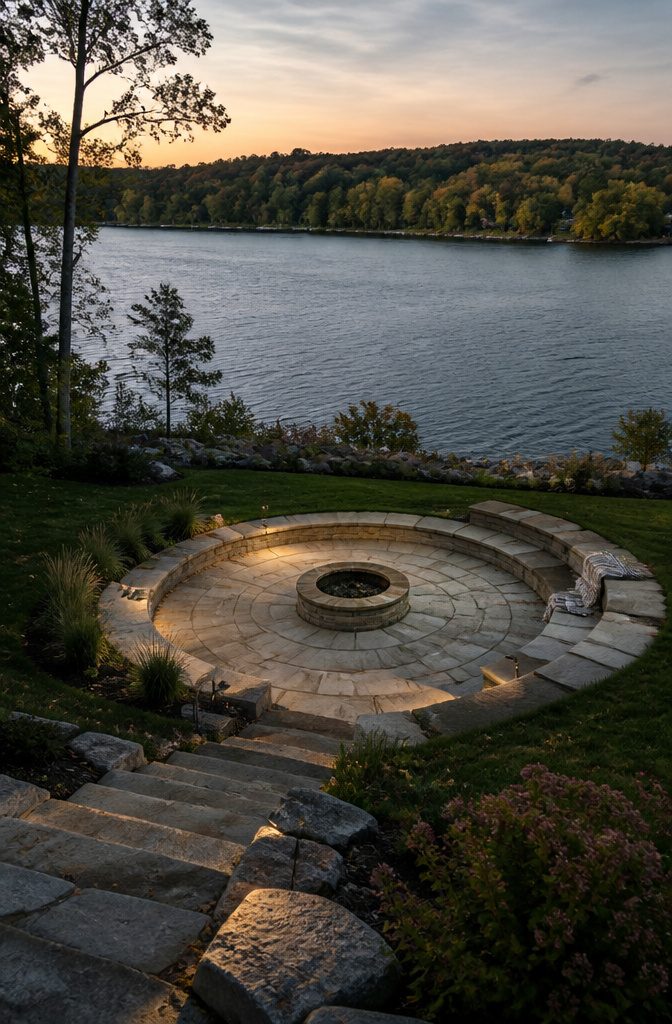
If the hill drops toward a lake or a field, build the overlook where the view and an easy walk from the house meet.
A round patio with a bonfire at its center works well, and it has room for a dining set or a chaise lounge.
On a slope without a big view, step seating down the hillside around a fire pit or another focal point.
Face every tier toward the view or the fire, so the top row sees as much as the bottom row. Pick the focal point’s location first, since every tier is arranged around it.
Recommended Products

Hardy in USDA zones 4-8. Due to varying agricultural regulations, we do not ship to the following states: AK, AZ, CA, CO, ID, MT, NV, OR, UT, WA and HI.

Hardy in USDA Zones 3-9. Due to varying agricultural regulations, we do not ship to the following states: AK, AZ, CA, CO, ID, MT, NV, OR, UT, WA and HI.

9. Vegetable Boxes on Sunny Slopes
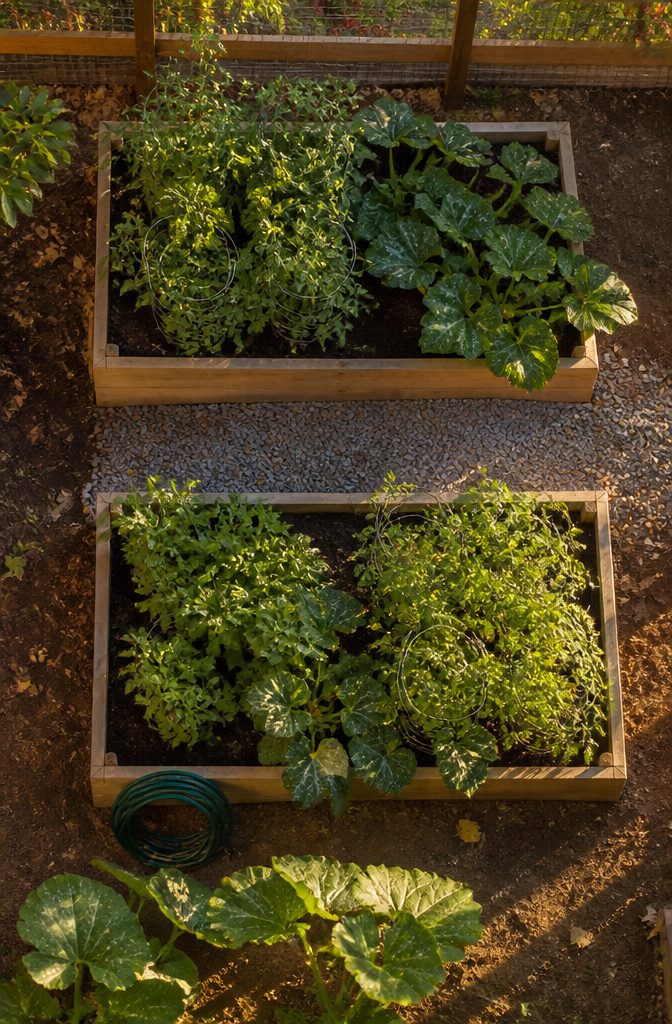
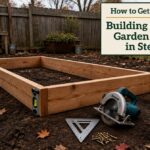
A west- or south-facing slope gets the long hours of sun that tomatoes, peppers, and squash want, which makes it a better spot for vegetables than a shaded flat corner. Raised boxes handle the grade.
Set each box level and let the ground fall away beneath it, so the downhill side stands about 18 inches above the slope below. That puts the growing surface at a comfortable working height and keeps the soil from creeping downhill.
If you want tiers, set a second box a step higher up the hill.
Most beginners do well with just one or two boxes. Two are easy to water and weed, and you can add more next season once you know what you actually eat.
Recommended Products

The Grey Owl Juniper features stunning blue-green foliage that remains vibrant year-round, adding unique color and texture to any landscape.

The Sea Green Juniper is a landscaping powerhouse, perfect for sprucing up your outdoor space with minimal effort.

Wonderful, low spreading form makes a superb groundcover, group planting or single specimen. Dense blue-green foliage gives this selection a handsome appearance and is best when not pruned, but rather left in its natural form. A notably heat tolerant variety.
10. Mulch for Slopes
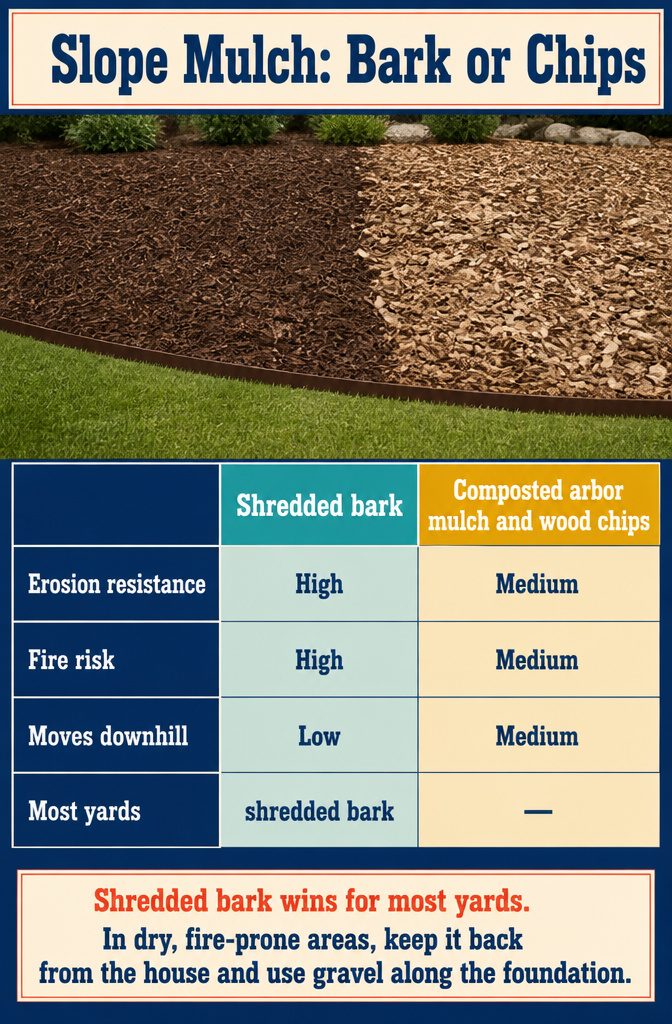
Shredded bark mats together as it settles, which is why it holds a slope better than chunky chips. A mulch strip along the lower edge also gives a hillside bed a clean border against the lawn.
| Option | Erosion resistance | Fire risk | Moves downhill |
|---|---|---|---|
| Shredded bark | High | High | Low |
| Composted arbor mulch and wood chips | Medium | Medium | Medium |
| Gravel | Medium | Low | High on steep grades |
| Jute netting | High | Low to medium | Low once pinned |
Shredded bark wins for most yards. In dry, fire-prone areas, keep it back from the house and use gravel along the foundation.
Recommended Products


Verdant Flocked Detailed Texture: Molded with stone-like contours in a light grey shade and finished with green vegetation flocking. Recreates forest-style mountain textures for tabletop gaming terrains, miniature terrariums, and scenic displays
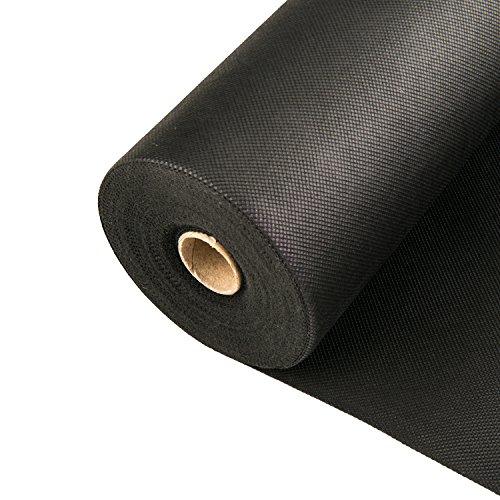
DON’T LET WEEDS RUIN YOUR HARD WORK - Keep your landscape looking great year-round.
11. Play Features
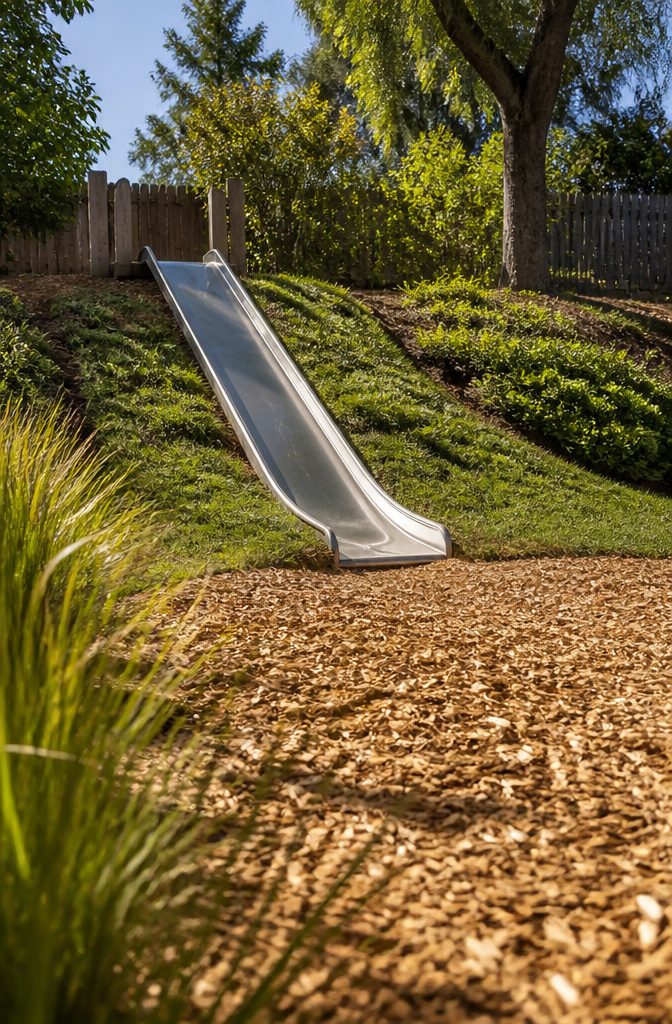
A slide set into the hill uses the grade as the structure, so you skip the tall frame a flat yard would need.
The slide only works if the bottom has room. Give it a flat, open landing zone at the base, with soft surfacing and nothing hard in the exit path: no retaining wall, step edge, boulder, or garden bed.
On a slope that drops straight into a wall or path, skip the slide. Let children use the hill for a lawn patch to roll down or a short run of stepping stones.
Plant the sides of the slide with groundcover or low grasses so the cut into the hill stays stable and doesn’t wash out after rain.
12. A Package-Drop Nook
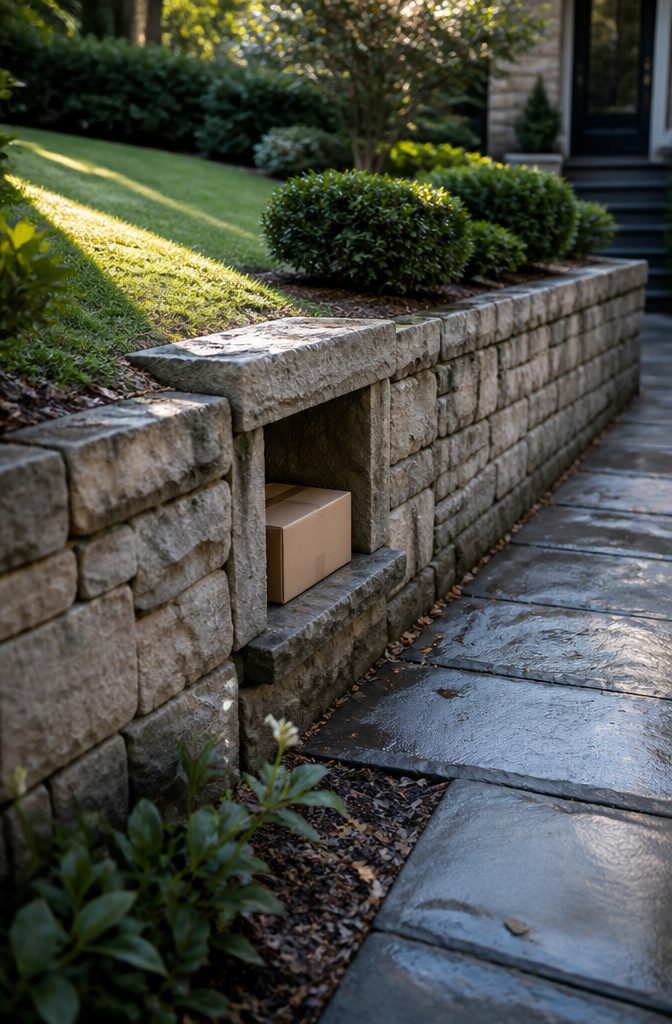
If you’re already building a retaining wall or cutting into a front-yard slope, a recessed nook for deliveries adds little work.
The alcove keeps parcels protected and out of sight from the street, and a sloped lawn is an easy place to hide one because the grade already does half the job.
Plan the nook before the first course of block or stone goes down. Cutting an opening into a finished wall means taking part of it apart, while building one in is only a different layout.
Put it on the side nearest your door or walkway so a carrier doesn’t have to climb the slope to reach it.
13. Combination Designs
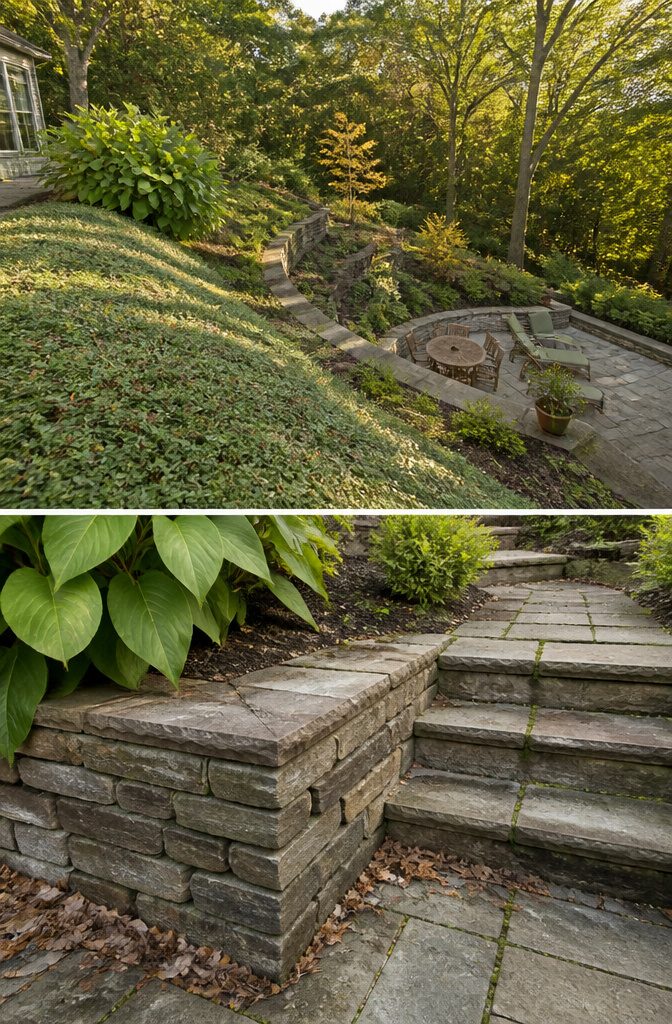
A slope is rarely one slope.
The top may be gentle, the middle steep, and the base nearly flat, and each stretch needs its own treatment. Build terraces full of plantings on the steepest section, where level steps hold soil and plants in place.
Cover the gentler ground with groundcover instead of building more structure. Put seating on the flattest part, at the top if you want the view or at the bottom if you want to be tucked in.
Match the heaviest construction to the steepest ground and let plants handle the rest. If the seating area itself crosses a grade change, a multi-level patio or deck can split it into separate zones for dining and lounging.
Drainage Options for Slopes
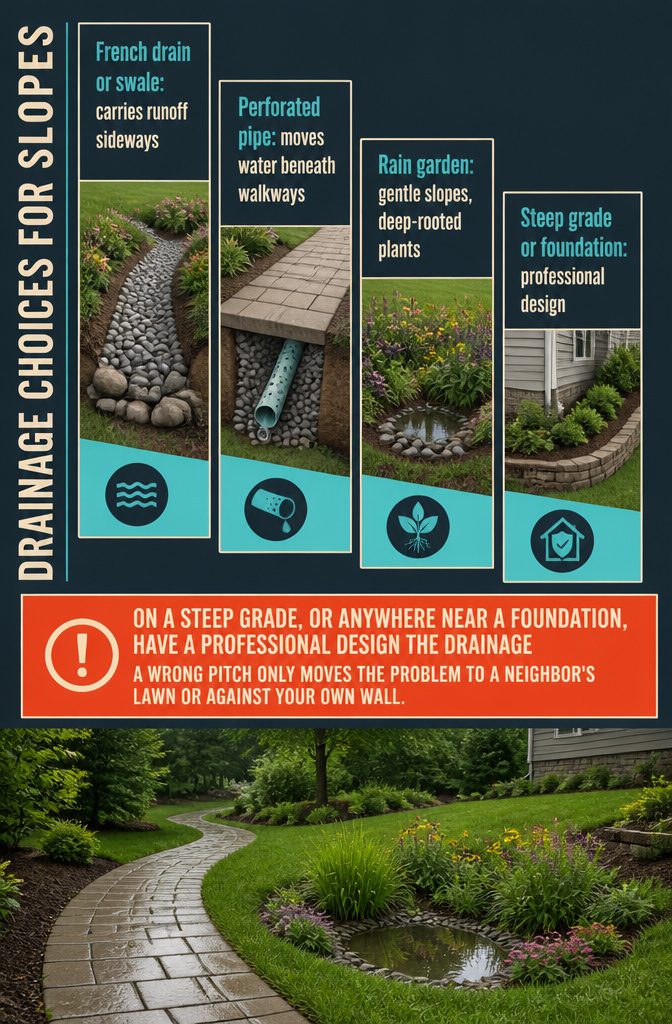
Water runs fast downhill, and without a plan for it you get washed-out beds at the bottom of the slope and puddles on every flat spot.
A French drain or a swale carries runoff sideways, away from planting beds and the house. Perforated pipe moves water under a walkway so the path doesn’t act as a dam.
A rain garden at a low point slows the flow and lets deep-rooted plants use it, which makes it the easiest of the four to try on a gentle slope.
On a steep grade, or anywhere near a foundation, have a professional design the drainage. A wrong pitch only moves the problem to a neighbor’s lawn or against your own wall.
Check Your Slope First
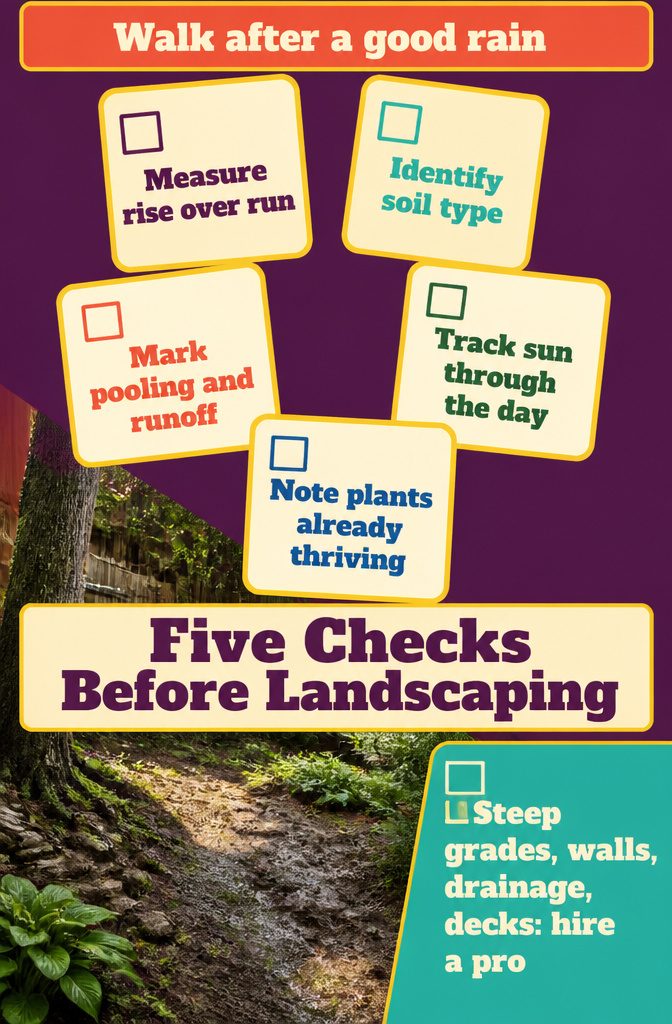
Walk the slope after a good rain, before you buy anything. Check these five things:
- Steepness: Measure rise over run instead of judging by eye. A steep grade makes a big flat patio costly.
- Soil: Sandy, clay, loam, or rocky. It sets how well roots hold and how fast the slope erodes.
- Water flow: Note where rain pools and where it rushes off too fast to soak in.
- Sunlight: Track full sun, partial shade, or full shade through the day.
- Existing plants: What already thrives shows what the spot tolerates.
Hard access raises labor costs, and a steep drop is a fall risk for kids and pets.
Hire an experienced professional for steep grades, retaining walls, drainage systems, and multi-level decks. A poorly built wall can fail and send soil onto your property or a neighbor’s.
Frequently Asked Questions
How do I stop soil erosion on a slope?
Pair structure with plants. Terraces or retaining walls slow the water, while deep-rooted groundcovers and shrubs lock the soil in place, and rocks and mulch fill in between.
Shredded bark mulch mats together and holds a slope better than chunky chips. On a steep grade, or anywhere near a foundation, have a professional design the drainage.
How can I build an affordable terraced garden?
Divide the slope into smaller sections and build each from salvaged timbers or concrete blocks.
Salvage yards and classified listings are good places to find cheap materials. Build one tier at a time to spread out the cost and the work.
What are the benefits of a sloped backyard?
A slope gives you separate levels for seating, gardening, and paths.
Water follows the grade on its own, so a waterfall or cascade looks natural without a pump fighting the slope. A slide can use the hill as its structure, which skips the tall frame a flat yard would need.
Are terraced gardens hard to build on a slope?
They are real work, involving digging, leveling, and moving soil by hand.
Building one tier at a time keeps the job manageable. The result is flat, usable planting areas that also slow runoff and cut erosion.
What plants work best on a slope?
Choose native, deep-rooted plants over shallow ones. Good options include creeping juniper, sedum, and native grasses as groundcovers, black-eyed Susan, yarrow, daylilies, and switchgrass as perennials, and spirea, dwarf sumac, and hydrangeas as shrubs.
A beginner can start with sedum and switchgrass, which are tough and need almost no attention.
Can I put a patio or deck on a sloped yard?
Yes. A deck can extend out over the slope, and a patio can be cut into a terrace.
A patio set into a terrace skips the raised frame but still needs grading. Multi-level decks are a bigger job and may need a professional.
Is it expensive to landscape a sloped yard, and what does it cost to fix one?
It can be expensive, and the price depends on how steep the slope is, how large the area is, and whether it needs retaining walls or drainage work.
Grading, access for materials, labor, and permits drive the cost, and each grows with the size and height of the structure.
Salvaged or reclaimed materials and simpler designs bring the cost down, so start small and get local quotes before committing to larger work.
How do I flatten a sloped yard?
You rarely flatten the whole slope.
Instead, cut into the hill and fill the void with the soil you dug out to make a level shelf, or use a retaining wall to hold soil back so the slope steps down in sections.
Keep a do-it-yourself wall under 3 feet tall. Anything taller is a job for a professional.